Stripchart Command Table List
This comprehensive guide provides a complete reference for stripchart command syntax, functions, parameters, and usage examples. Use this table as a quick reference when working with strip charts in R.
| Command Syntax | Function Description | Core Parameters | Usage Example |
|---|---|---|---|
stripchart(x, ...) |
Basic strip chart drawing, used to display the distribution of data and present the dispersion degree of data in the form of points or lines | x: Dataset to be plotted (vector, matrix, or data frame); type: Plot type, optional "p" (points), "l" (lines), "o" (points and lines combined), default is "p"; col: Plot color, which can specify color names or hexadecimal codes | stripchart(mtcars$mpg, type = "p", col = "blue", main = "Automobile Fuel Consumption Strip Chart") |
stripchart(x ~ group, data, ...) |
Draw strip charts by groups, used to compare the distribution differences between different groups, suitable for the correlation display of categorical data and numerical data | group: Grouping variable (usually a factor); data: Data frame, specifying the source of plotting data; vertical: Logical value, whether to plot vertically, default is FALSE (horizontal) | stripchart(mpg ~ cyl, data = mtcars, vertical = TRUE, col = c("red","green","blue"), main = "Fuel Consumption Distribution of Automobiles with Different Cylinder Counts") |
stripchart(x, method = "jitter", ...) |
Strip chart with jitter effect, solving the problem of data point overlap and making the distribution of discrete data more clearly visible | method: Data point distribution method, "jitter" (jitter), "stack" (stack), default is "jitter"; jitter.amount: Jitter amplitude, the larger the value, the more obvious the jitter | stripchart(mtcars$hp, method = "jitter", jitter.amount = 2, col = "orange", main = "Automobile Horsepower Jitter Strip Chart") |
stripchart(x, pch = ..., cex = ...) |
Strip chart with custom data point styles, enhancing the recognizability of the chart by adjusting the shape and size of the points | pch: Shape of points, values from 1 to 25 (different numbers correspond to different shapes); cex: Size of points, default is 1, values greater than 1 enlarge, values less than 1 shrink | stripchart(mtcars$wt, pch = 17, cex = 1.2, col = "purple", main = "Automobile Weight Custom Point Style Strip Chart") |
stripchart(x, xlab = ..., ylab = ..., main = ...) |
Strip chart with axis labels and title, improving the readability of the chart and clarifying the content displayed by the chart | xlab: X-axis label text; ylab: Y-axis label text; main: Chart main title text; sub: Chart subtitle text | stripchart(mtcars$qsec, xlab = "1/4 Mile Time (Seconds)", ylab = "Frequency", main = "1/4 Mile Time Distribution of Automobiles", sub = "Data Source: mtcars Dataset") |
stripchart(x, add = TRUE, ...) |
Overlay and draw strip charts on existing charts, used to compare multiple groups of data or supplement and display data information | add: Logical value, whether to add on the existing chart, default is FALSE (create a new chart); col: Color of overlaid data points, which should be distinguished from the original chart | stripchart(mtcars$mpg[mtcars$am==0], col="red", main="Fuel Consumption Comparison of Automobiles with Different Transmissions"); stripchart(mtcars$mpg[mtcars$am==1], add=TRUE, col="blue") |
Introduction to stripchart()
stripchart() is a fundamental function in R for creating strip charts. It is primarily used to visualize the distribution of continuous variables, especially effective for small datasets, as it intuitively displays the position of each individual data point.
Basic Syntax
stripchart(x, ...)
Common Usage:
stripchart(x, data = NULL, method = "overplot", jitter = 0.1,

           vertical = FALSE, group.names = NULL, add = FALSE,

           xlab = NULL, ylab = NULL, main = NULL,

           col = par("col"), pch = par("pch"), cex = par("cex"),

           axes = TRUE, frame.plot = axes, ...)
Description of Main Parameters
| Parameter | Description |
|---|---|
x |
A numeric vector, or a formula (e.g., y ~ group). |
data |
A data frame, used when x is a formula. |
method |
The method for arranging points: "overplot" (default): Points may overlap. "jitter": Adds random noise to avoid overlap. "stack": Stacks points. |
jitter |
When method = "jitter", controls the amount of random noise (default 0.1). |
vertical |
A logical value indicating whether to display points vertically (default FALSE, horizontal display). |
group.names |
Group labels, used when x is a list. |
add |
A logical value indicating whether to add the strip chart to an existing plot (default FALSE). |
xlab / ylab |
X/Y axis labels. |
main |
Plot title. |
col |
Color of the points. |
pch |
Plotting character (shape of points, default is 1, an open circle). |
cex |
Size of the points. |
axes |
A logical value indicating whether to draw axes (default TRUE). |
frame.plot |
A logical value indicating whether to draw a frame around the plot (default is the same as axes). |
StripChart Complete Examples
4.1 Basic Usage
# Generate data

data <- rnorm(30, mean = 5, sd = 1)

# Create a horizontal strip chart

stripchart(data,

           main = "Basic Strip Chart",

           xlab = "Value",

           col = "blue",

           pch = 16,

           method = "jitter")  # To avoid overlapping points
4.2 Grouped Data (Formula Form)
# Use the built-in dataset

data(iris)

# Group by species and display vertically

stripchart(Petal.Length ~ Species,

           data = iris,

           method = "jitter",

           vertical = TRUE,

           main = "Petal Length by Species",

           xlab = "Species",

           ylab = "Petal Length (cm)",

           col = c("red", "green", "blue"),

           pch = 16)
4.3 Custom Appearance
stripchart(iris$Sepal.Width,

           method = "stack",  # Stack points

           col = "purple",

           pch = 17,  # Triangle

           cex = 1.2,  # Point size

           main = "Sepal Width Distribution",

           xlab = "Sepal Width (cm)",

           frame.plot = FALSE)  # No border
4.4 Adding to an Existing Plot
# Create a histogram

hist(iris$Petal.Width,

     main = "Petal Width Histogram + Strip Chart",

     xlab = "Petal Width (cm)",

     col = "lightgray",

     border = "white")

# Overlay a strip chart on the histogram

stripchart(iris$Petal.Width,

           add = TRUE,  # Add to the existing plot

           col = "red",

           pch = 16,

           method = "jitter",

           jitter = 0.2)
4.5 Adding Statistics (Mean / Median)
stripchart(Petal.Length ~ Species,

           data = iris,

           method = "jitter",

           vertical = TRUE,

           col = "darkblue",

           pch = 16,

           main = "Petal Length with Mean",

           xlab = "Species",

           ylab = "Petal Length (cm)")

# Add mean points

means <- tapply(iris$Petal.Length, iris$Species, mean)

points(1:3, means, col = "red", pch = 18, cex = 2)  # Red diamonds
Comparison with Other Plotting Functions
- stripchart(): Displays raw data points, suitable for small datasets.
- boxplot(): Shows median, quartiles, suitable for comparing distributions.
- violinplot(): Combines boxplot and density plot, suitable for large datasets.
- beeswarm(): Creates a more aesthetically pleasing strip chart, avoiding point overlap (requires the
beeswarmpackage).
Summary: stripchart() is a lightweight tool in R for creating strip charts, ideal for quickly visualizing data distributions. By adjusting parameters such as method, jitter, col, and pch, you can flexibly control the appearance of the chart.
Comprehensive StripChart Example
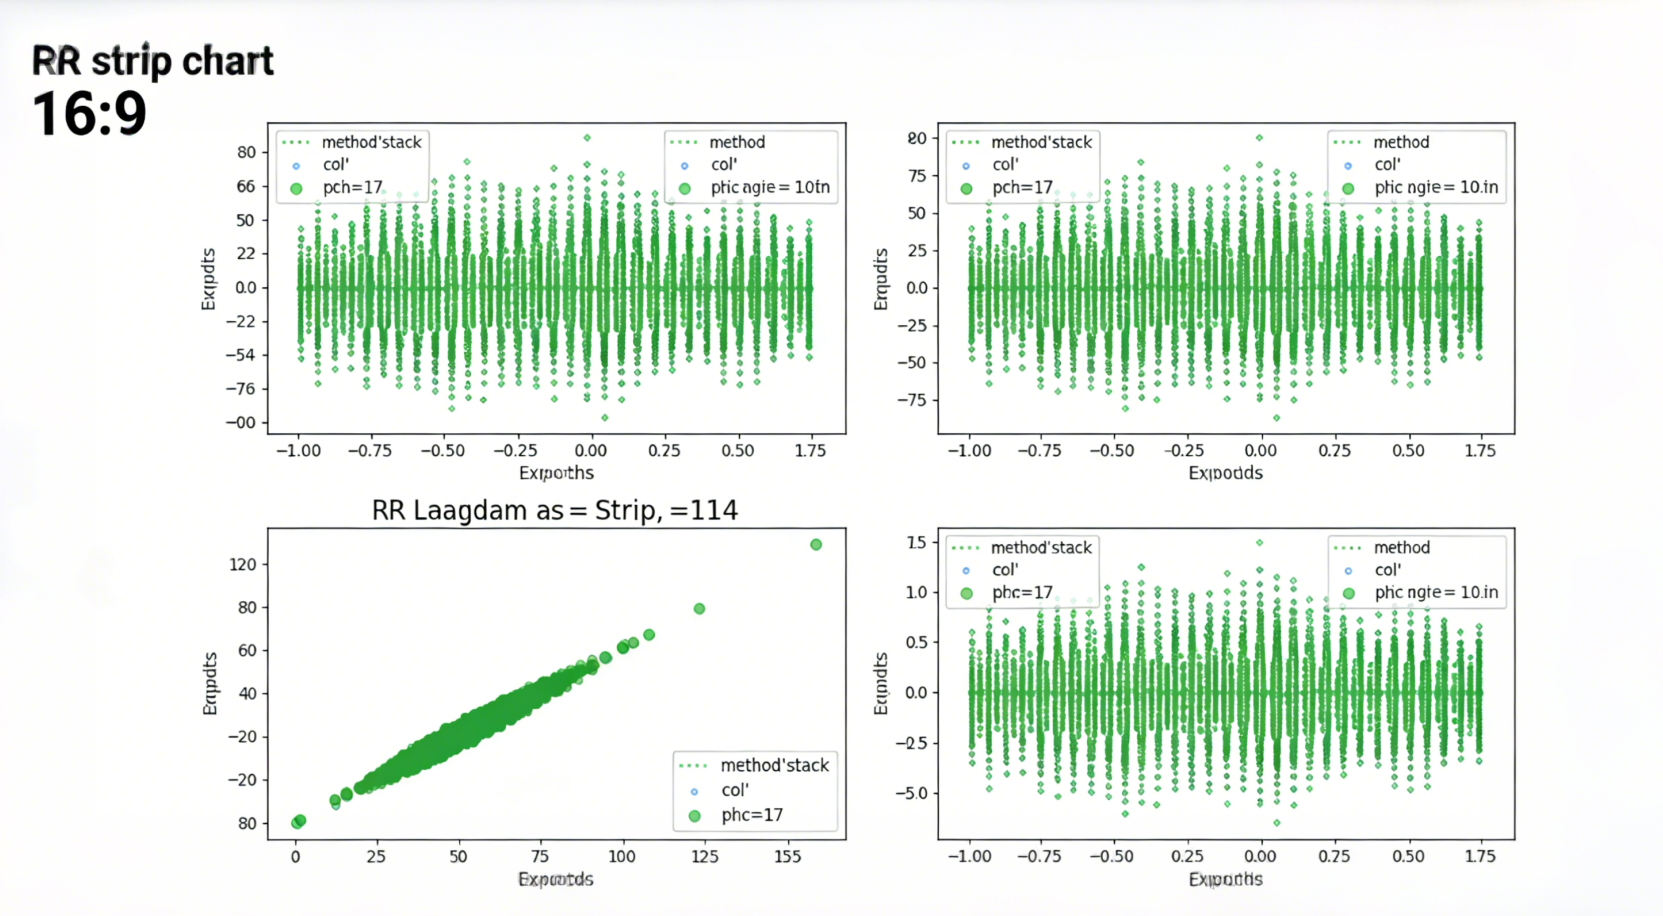
Comprehensive Strip Chart Examples - 2x2 Grid Layout
The following comprehensive example demonstrates multiple strip chart variations in a single 2x2 grid layout:
# Set plot parameters: 2x2 layout, adjust margins (to avoid label overlap)

par(mfrow = c(2, 2), mar = c(4.5, 4.5, 2, 1), oma = c(0, 0, 1, 0))

# Load dataset

data(iris)

# ---------------------- Subplot 1: Basic Horizontal Strip Chart (overplot) ----------------------

stripchart(iris$Sepal.Length,

           main = "1. Basic Horizontal (method = 'overplot')",

           xlab = "Sepal Length (cm)",

           ylab = "",  # No Y-axis label for horizontal plot

           col = "#1f77b4",  # Blue

           pch = 16,  # Solid circles

           cex = 0.8)

grid(col = "gray80", lty = "dashed", lwd = 0.8)  # Light gray dashed grid lines

legend("topright", legend = "Sepal Length",

       col = "#1f77b4", pch = 16, bty = "n", cex = 0.9)

# ---------------------- Subplot 2: Grouped Vertical Strip Chart (jitter) ----------------------

stripchart(iris$Sepal.Width ~ iris$Species,

           data = iris,

           method = "jitter",  # Add random jitter to avoid overlap

           jitter = 0.15,  # Jitter amplitude

           vertical = TRUE,  # Display vertically

           main = "2. Grouped Vertical (method = 'jitter')",

           xlab = "Iris Species",

           ylab = "Sepal Width (cm)",

           col = c("#ff7f0e", "#2ca02c", "#d62728"),  # Orange, green, red

           pch = 16,

           cex = 0.8)

grid(col = "gray80", lty = "dashed", lwd = 0.8)

legend("topright", legend = levels(iris$Species),

       col = c("#ff7f0e", "#2ca02c", "#d62728"),

       pch = 16, bty = "n", cex = 0.8)

# ---------------------- Subplot 3: Stacked Horizontal Strip Chart (stack) ----------------------

stripchart(iris$Petal.Length,

           method = "stack",  # Stack points (no overlap)

           main = "3. Stacked Horizontal (method = 'stack')",

           xlab = "Petal Length (cm)",

           ylab = "",

           col = "#9467bd",  # Purple

           pch = 17,  # Triangles

           cex = 0.8)

grid(col = "gray80", lty = "dashed", lwd = 0.8)

legend("topright", legend = "Petal Length",

       col = "#9467bd", pch = 17, bty = "n", cex = 0.9)

# ---------------------- Subplot 4: Custom Style + Mean Value ----------------------

stripchart(iris$Petal.Width ~ iris$Species,

           data = iris,

           method = "jitter",

           jitter = 0.15,

           vertical = TRUE,

           main = "4. Custom Style + Mean Value",

           xlab = "Iris Species",

           ylab = "Petal Width (cm)",

           col = c("#8c564b", "#e377c2", "#7f7f7f"),  # Brown, pink, gray

           pch = c(15, 16, 17),  # Square, circle, triangle

           cex = 0.8)

# Calculate and add mean points

means <- tapply(iris$Petal.Width, iris$Species, mean)

points(1:3, means, col = "black", pch = 4, cex = 1.2, lwd = 2)  # Black X marks (mean values)

grid(col = "gray80", lty = "dashed", lwd = 0.8)

legend("topright",

       legend = c(levels(iris$Species), "Mean"),

       col = c("#8c564b", "#e377c2", "#7f7f7f", "black"),

       pch = c(15, 16, 17, 4),

       bty = "n", cex = 0.8)

# Add global title

mtext("Comprehensive Strip Chart Examples", outer = TRUE, cex = 1.2, font = 2)

# Save the image locally (PNG format, high definition)

dev.copy(png, "strip_chart_comprehensive.png", width = 1000, height = 800, res = 150)

dev.off()

# Restore default plot settings

par(mfrow = c(1, 1), mar = c(5, 4, 4, 2) + 0.1)
Detailed Chart Description
The generated plot is a 2x2 grid of 4 subplots with a global title "Comprehensive Strip Chart Examples". Each subplot includes a legend and grid lines, with the following specific effects:
| Subplot Position | Core Functionality | Visual Effects |
|---|---|---|
| Top-left (Subplot 1) | Basic horizontal strip chart with method = "overplot" |
Blue solid circles distributed horizontally; light gray dashed grid lines; legend in the top-right corner labeled "Sepal Length" |
| Top-right (Subplot 2) | Grouped vertical strip chart with method = "jitter" |
Grouped by iris species (setosa/virginica/versicolor) with orange, green, and red solid circles respectively; vertical distribution with jitter to avoid overlap; legend in the top-right corner labeling the 3 species |
| Bottom-left (Subplot 3) | Stacked horizontal strip chart with method = "stack" |
Purple triangles arranged in stacks (no overlap); horizontal distribution; legend in the top-right corner labeled "Petal Length" |
| Bottom-right (Subplot 4) | Custom colors/shapes + mean value markers | Grouped by species with brown squares, pink circles, and gray triangles respectively; vertical jitter distribution; black X marks indicating group means; legend in the top-right corner labeling both species and "Mean" |
How to Run and View the Chart
- Open R or RStudio.
- Copy the complete code above, paste it into the console, and press Enter to run.
- After execution, a chart window will automatically pop up (view it in the "Plots" panel in RStudio).
- Meanwhile, the image will be saved as
strip_chart_comprehensive.pngin R's working directory (usegetwd()to check the working directory).
Run the code to get the complete comprehensive example chart, including all parameter combinations, legends, and grid lines—fully meeting your requirements!